


With the rise of social media and our desire to post the best bits of ourselves online, we’re always chasing the desire for perfection, or rather the version of perfection that the wider media tells us is how we should look.
It’s time to delete any face altering app off your phone and start embracing you for you. I’m about to spill all on how to achieve the most flawless foundation base, perfect for getting the very best Instagram photos!
To feel photo ready, you’ll want to cover three bases:
- Cover blemishes and hyperpigmentation for an airbrushed skin finish.
- Minimise pores and texture.
- Wear a foundation that sits nicely on your skin and looks natural, not cakey.
Prep the face
Begin by prepping your face ready to apply your foundation flawlessly for photos. As always skincare is incredibly important when it comes to makeup application. Thoroughly clean any lingering dirty and old makeup
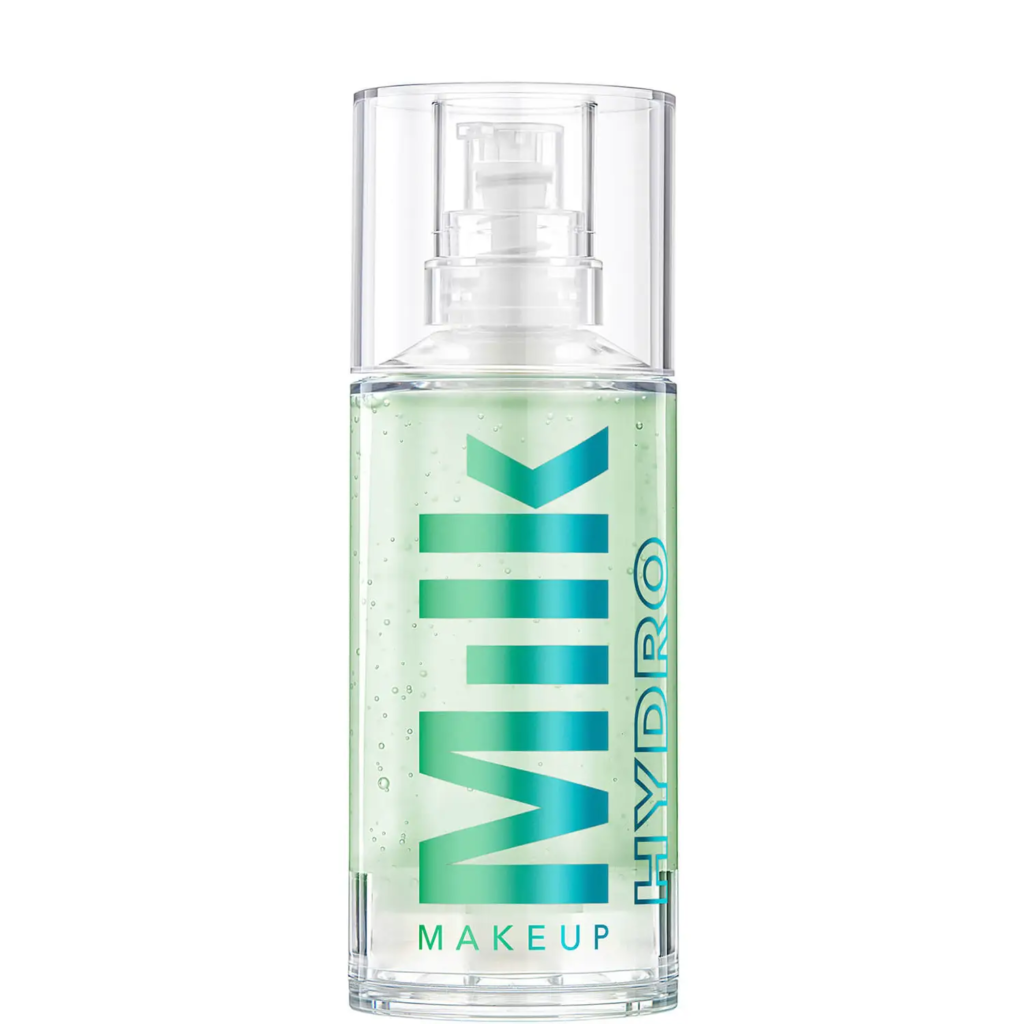
If you find your skin has enlarged pores or textured skin reaching for a pore-filling primer is your best option. Products like Benefit’s Porefessional and the Milk Makeup Hydro Grip Primer are among my favourites for filling pores and leaving your skin smooth.

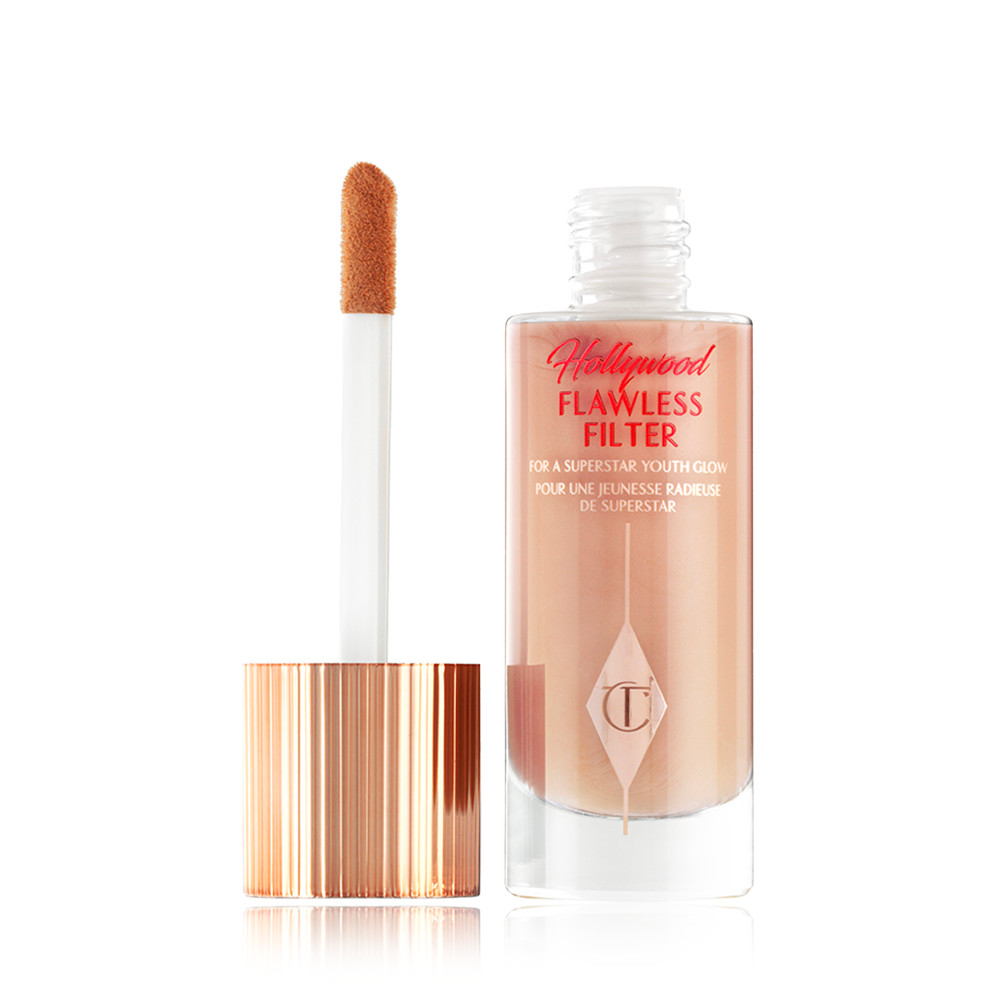
If you’re looking for a dewy foundation finish to brighten dull, dry skin the Hollywood Flawless Filter by Charlotte Tilbury is perfect underneath your foundation to give you that healthy, glow from within. I love this product on its own but as we’re looking for photo-ready makeup you’ll want a bit more coverage to conceal every blemish, mark, and bad decision you’ve ever made.
This takes us to the main event – the foundation!
How to make your foundation look photo ready
Usually, I would lean towards a light-medium coverage foundation for my everyday wear but as we’re looking to get full beat, you’re going to want to pick up your favourite full coverage foundation this time.
If you do have imperfection-free skin (lucky you) then you may not need to use a full coverage foundation and instead lean toward spot concealing any problem areas with a full coverage concealer.
Top photo friendly foundations
Giorgio Armani Luminous Silk Foundation
This cult classic will always remain a firm favourite for photo ready foundation amongst makeup artists. Giving a medium coverage which is easily buildable to give a flawless base that still looks healthy and natural.
This is a pretty expensive foundation coming in at a whopping £44.50, but if you’re a selfie queen or king it’s well worth the investment.

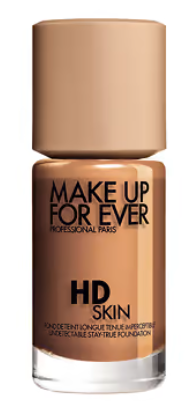
Make Up For Ever Ultra HD Foundation
The Make Up For Ever Ultra HD Foundation is one of the best on the market for smoothing the skin to create an airbrushed looking base. It lasts beautifully on the skin, so if you’re taking you photos that one step further and using lighting that can sometimes be hot and make you sweat this is a great option. Not to mention it’s fabulous on the coverage front too.
Charlotte Tilbury Airbrush Flawless Longwear Foundation
The clue’s in the name – this foundation will have your skin looking airbrushed. We all love Charlotte Tilbury and the Airbrush Flawless Longwear Foundation is an amazing foundation for those wanting the perfect photo ready foundation base. Again it will leave you looking beautifully natural while also hydrating and protecting your skin underneath.

How to apply your foundation flawlessly
I’ve been over how to flawlessly apply foundation a few times before, so I won’t bore you with another in-depth step by step. If you do want to read all about the best way to apply foundation then click here have a read and come back.
Long story short you want your foundation base to look as natural as possible while still giving you the best possible coverage. Make sure you blend your foundation in so well your arm begins to ache. Streaks and separation lines are a no-no so take your time. I usually begin by applying my foundation with a brush as this deposits the most product onto your skin and gives the most coverage. After you’ve achieved the most possible coverage, I recommend bouncing a damp beauty blender over your skin to even everything out and banish any lingering brush lines.
Finally, you can carry on with your next makeup steps. Adding concealer for extra coverage and highlighter, bronzer and blusher to sculpt the face. Don’t forget to set everything with a translucent powder to keep your hard work in place.
Makeup mistakes to avoid
The dreaded ghost face. We’ve all been there; a club picture has been taken with flash and the powder on your face has reflected the light, making you look ghostly white. This is certainly not the look you want when taking pictures.
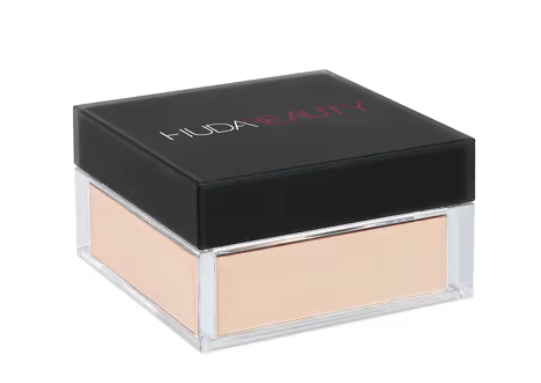
This flashback is usually down to SPF, a powder that is too light for your skin or overly lightening your under eyes with concealer. In the mirror your makeup may be looking on fleek but as soon as that flash comes on it’s a totally different story. But how do you avoid this? Well, it’s pretty easy really. Stay away from SPF ingredients, don’t use a concealer that is too light for your skin and invest in a good quality setting powder that doesn’t create flashback. My personal favourites is the Huda Beauty Easy Bake Powder, this is flashback free and fabulous for smoothing out your skin.
What now?
You’re now ready for that Elle, Cosmo or Grazia cover shot. Get up close and personal with those front camera selfies or grab yourself a well-trained friend or family member to take those full body shots.
Having a makeup base that has you looking flawless will make you feel much more confident and ready to work those angles.